Home / Send SMS Using Globe Tattoo With Gnokii & PHP
Send SMS Using Globe Tattoo With Gnokii & PHP
UPDATE: July 16, 2017 This code does not work anymore. gamit ko dati itong code na to sa thesis and it works fine. but not anymore. Perhaps, ni-blocked na ni Globe pag send ng SMS using broadband stick.
My suggestion is gamit na lang kayo ng API ng chikka.
UPDATE: October 5, 2017, my friend tried this tutorial and it still working guys. You better try it nalang and see it for yourself kung nagana sa inyo
Sending an SMS using GSM Modem with Gnokii and PHP is probably a worth to share to anyone who need this. This guide needs the following:
- Globe tattoo broadband stick
- Globe sim card (with load of course)
- Gnokii (in my case i use Gnokii for Windows ver 0.6.31)
- Xampp (32 bit)
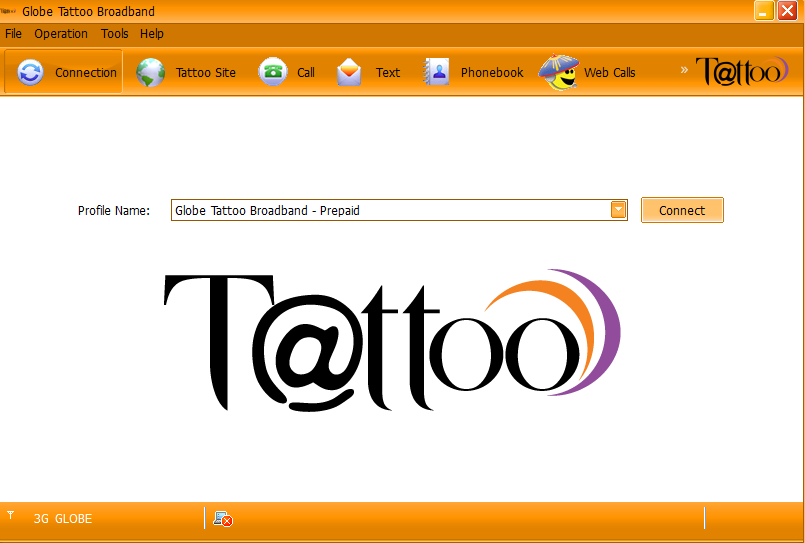
Before we start, just make sure that you had installed the Globe broadband installer. You also need to download and extract the Gnokii files on your PC (no need to install)
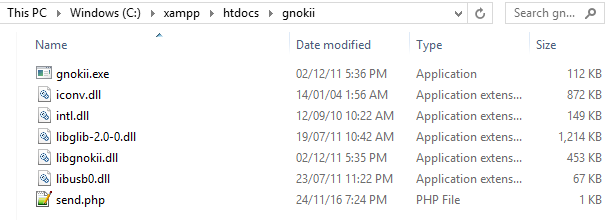
In my case, i extracted the Gnokii files on my htdocs folder"c:xampphtdocsgnokii"
Gnokii is very easy to configure as long as you know the COM ports and baud rate of your GSM modem.
Plugged your device first and you will find the Globe Tattoo modem COM port under device manager. See the screenshot below
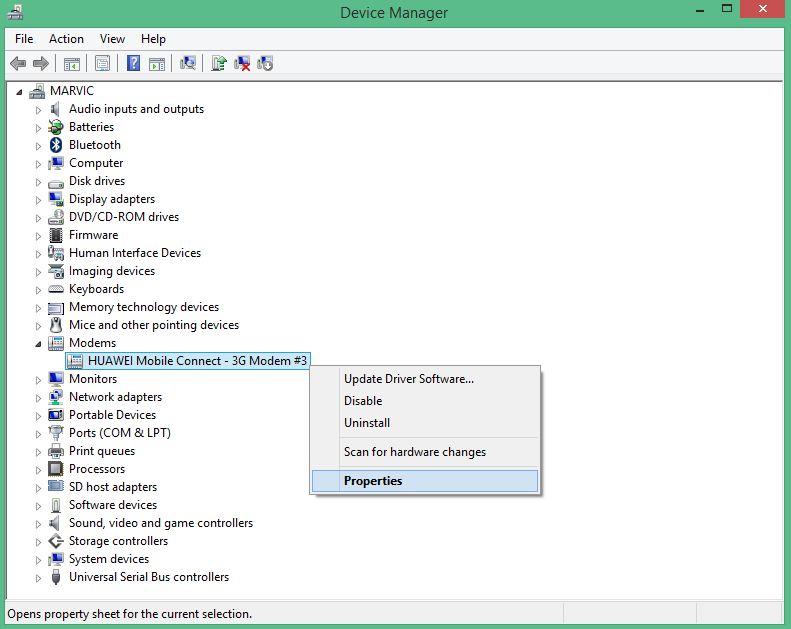
And click the "Modem" tab to find the COM port and "serial_baudrate"
Take note of these COM port and serial_baudrate because Gnokii need it for configuration.

As you can see on the screenshot above, my device's COM port is "COM12" you will put it on "gnokii.ini" file
Here is my complete Gnokii configuration
[global]
port = \.COM12
model = AT
connection = serial
use_locking = no
serial_baudrate = 460800
sm_retry = 1
smsc_timeout = 10
[xgnokii]
allow_breakage = 0
[gnokiid]
bindir = /usr/local/sbin/
TELEPHONE = 12345678
[disconnect_script]
[logging]
debug = on
rlpdebug = off
xdebug = off
Note: If your modem device's COM port is 1-9 change the format of port to the following:
e.g if port is 1 use
port=COM1:
if port is 2 use
port=COM2:
and so on..
Now we're ready, we can now test our SMS Sender.
Copy the gnokii configuration above and just change the port with your own device port. save it as "gnokii.ini" and put it on "Windows" directory.
Run your Xampp and create a php file let's name it as "send.php" Put the send.php on your "gnokii" folder on htdocs.
See the screenshot below (I'm using Windows 8 btw)
On your "send.php", put this code
Then run it on your browser through this url "http://localhost/gnokii/send.php"
Just make sure that your sim card has enough balance to send an sms.
Voila! you should received the text now to your specified phone number :)